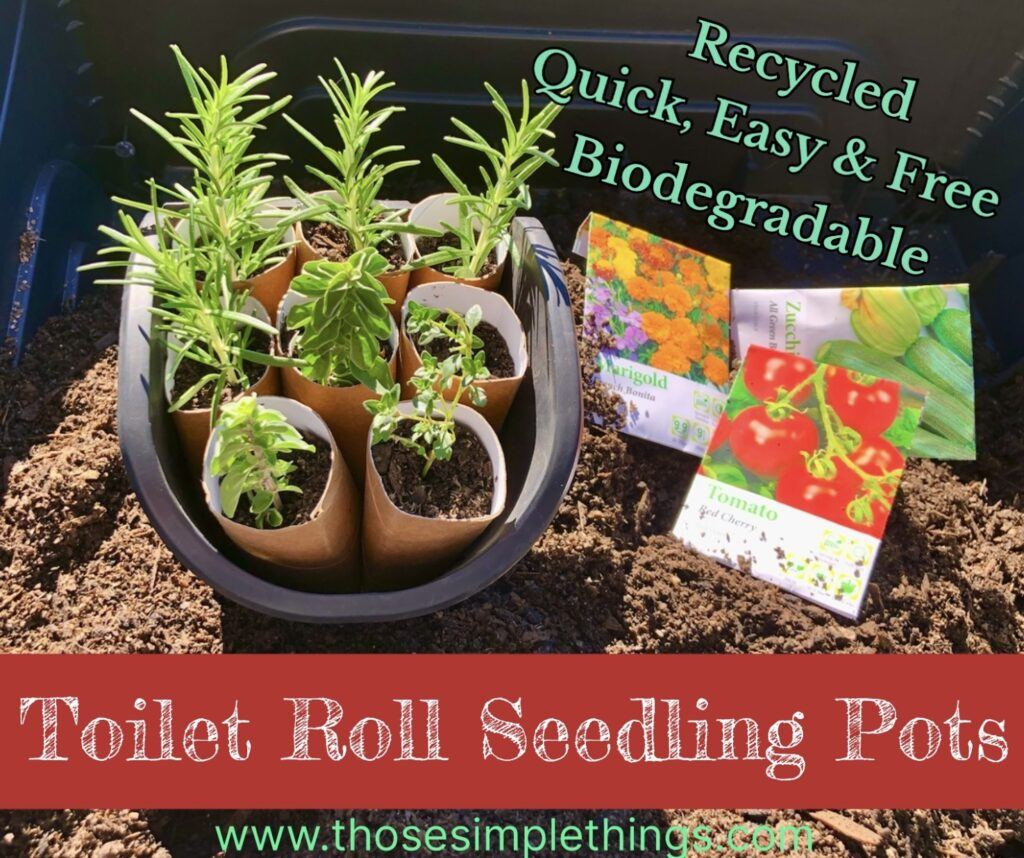
Are you like me and sick of paying a fortune for seedling pots or tired of those annoying seedling trays that are quick and easy to fill, great to move around as they are all joined together in a tray, but a real nuisance when it’s time to transplant the seedling into a bigger pot or the veggie patch etc. Getting them out is fiddly and frustrating sometimes, not to mention the seedlings fine roots being damaged in the process.
One day while heading to the recycling bin with another small pile of empty toilet rolls from the corner of the bathroom, I saw my seedling pots sitting there waiting for me to transplant them and dreading the fiddly process of getting them out etc. I thought to myself I’m really going to have to just pay a fortune for those easy little biodegradable pots you can get made from coco peat or paper, you know the ones that you can just plant the whole seedling pot into your garden, so easy and gentle on the delicate root systems.
That’s when it happened, I tripped on a rock and dropped all the toilet rolls! As I was picking them up from around my seedlings, it hit me, these would be perfect! They were the right size, were robust enough to withstand the weather and watering while the seedling grew, and they could be planted in the garden as a whole and finish breaking down underground. The best part though, these DIY seedling pots are eco-friendly and free!
So here is how I make them, it’s super easy, quick and absolutely free.
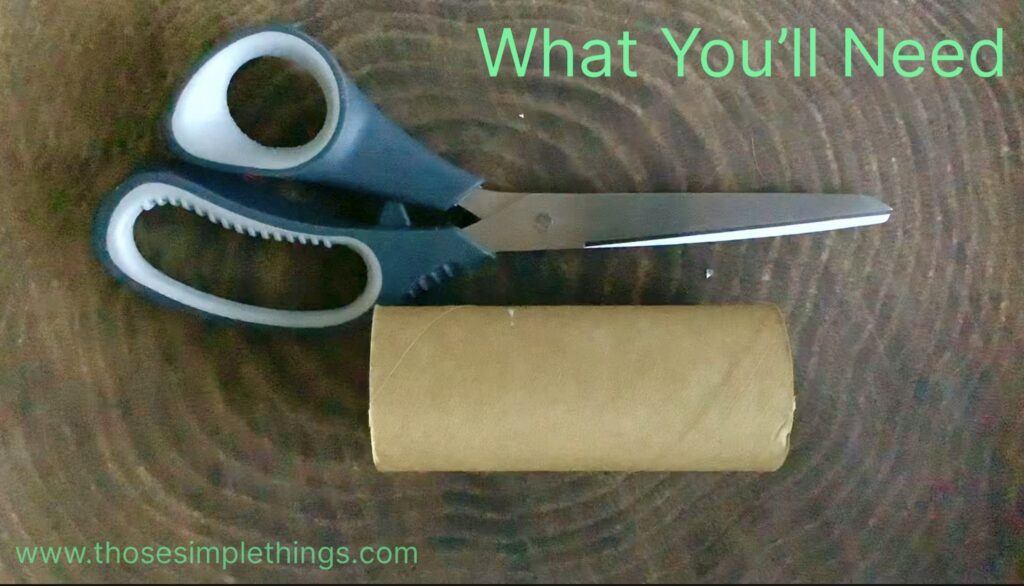
What You’ll Need:
- Empty toilet rolls
- Scissors
Step-by-Step Instructions:
Step 1: Flatten the Toilet Roll
First, take an empty toilet roll and flatten it to place creases down two sides.
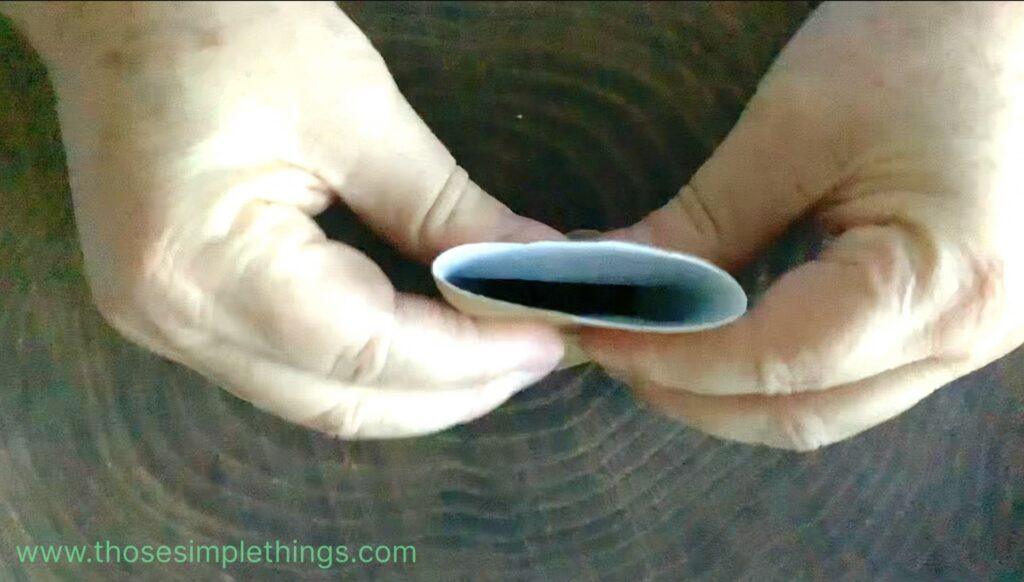
Step 2: Then turn and flatten opposite way
Turn it to flatten the opposite way so you have four creases down each side forming a squarish tube.
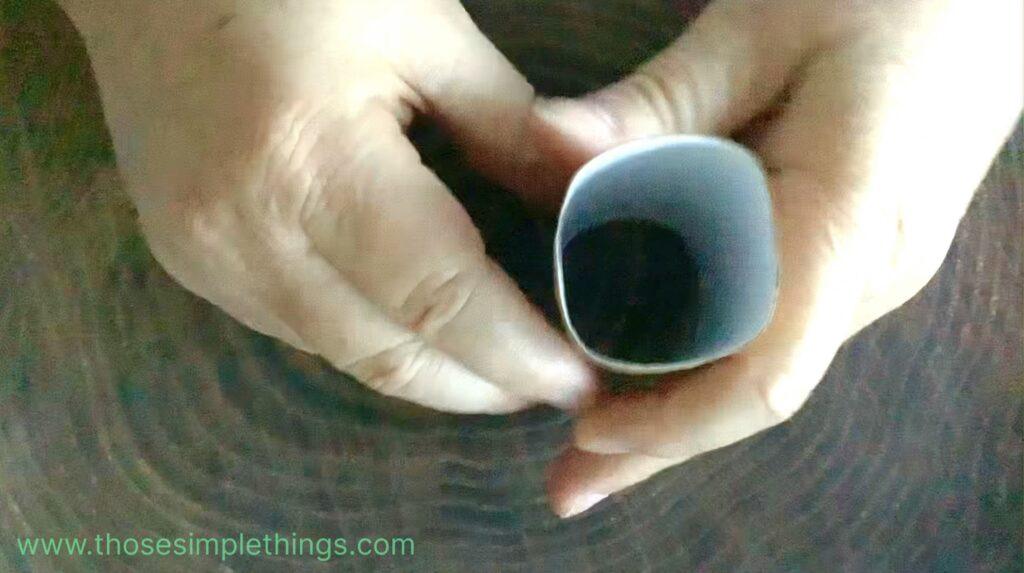
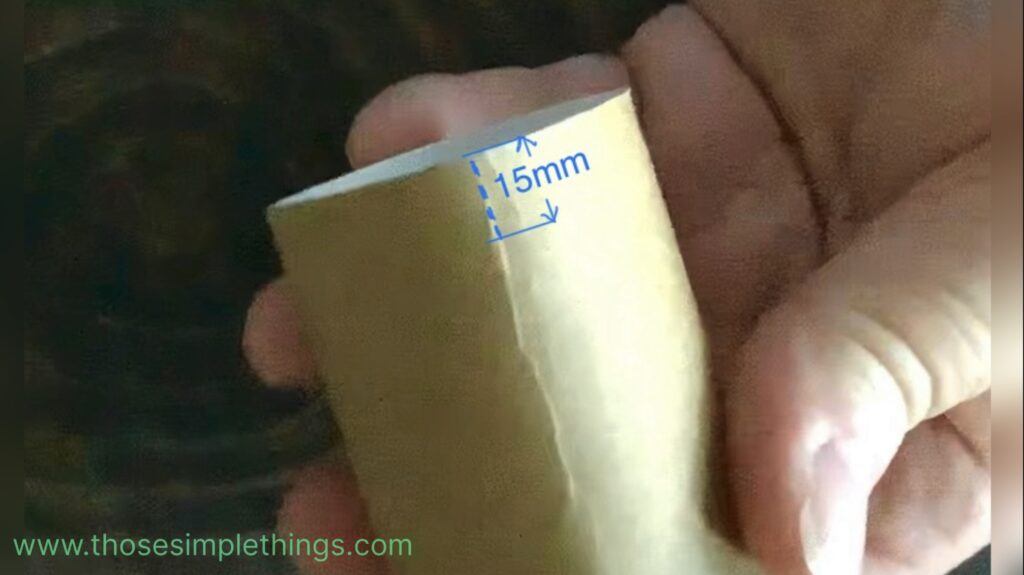
Step 3: Cut 15mm along each crease
Next, make four cuts about 15mm equally spaced along the four creases at one end of the toilet roll. These cuts will form the flaps that will create the bottom of your pot.
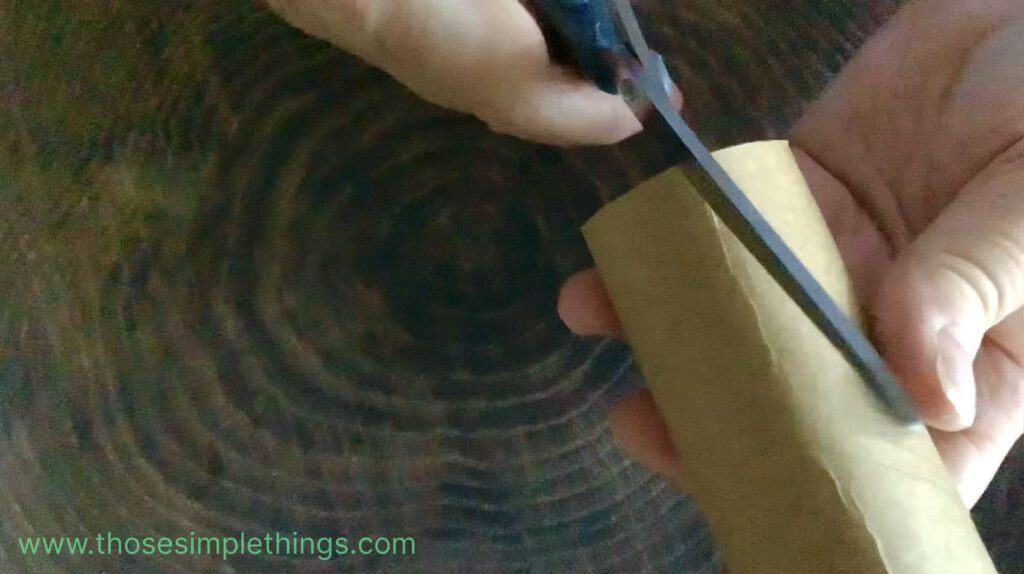
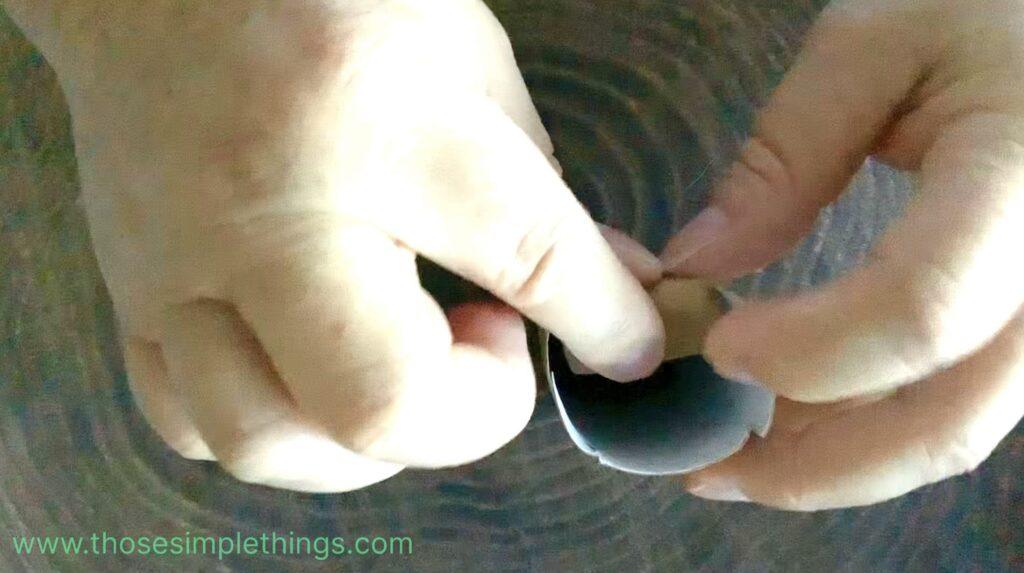
Step 4: Fold the four flaps inward,
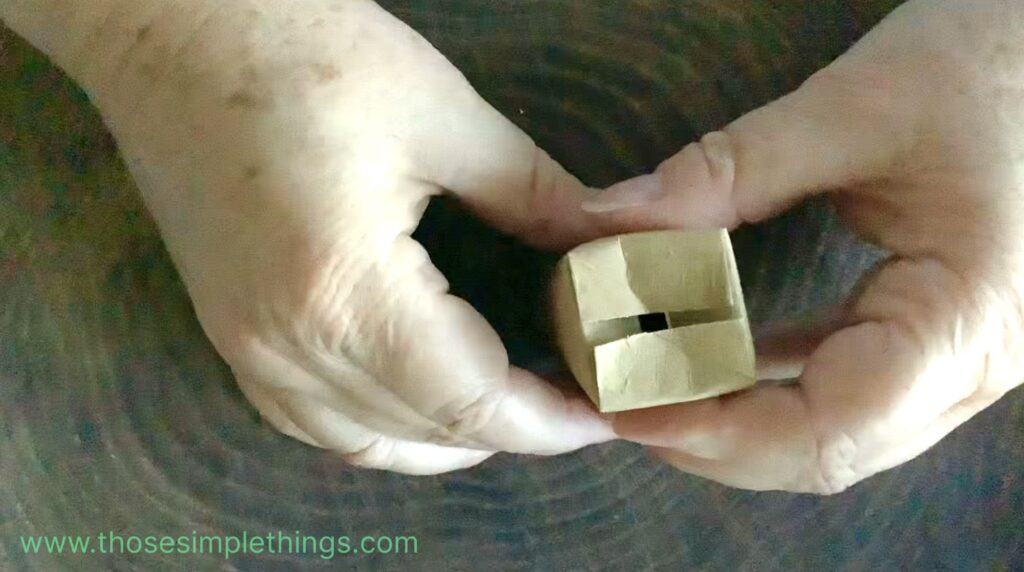
Now fold the four flaps inward to form a secure bottom for your seedling pot. This will hold the soil in place and prevent it from falling out. There should be a small hole left in the centre for drainage.
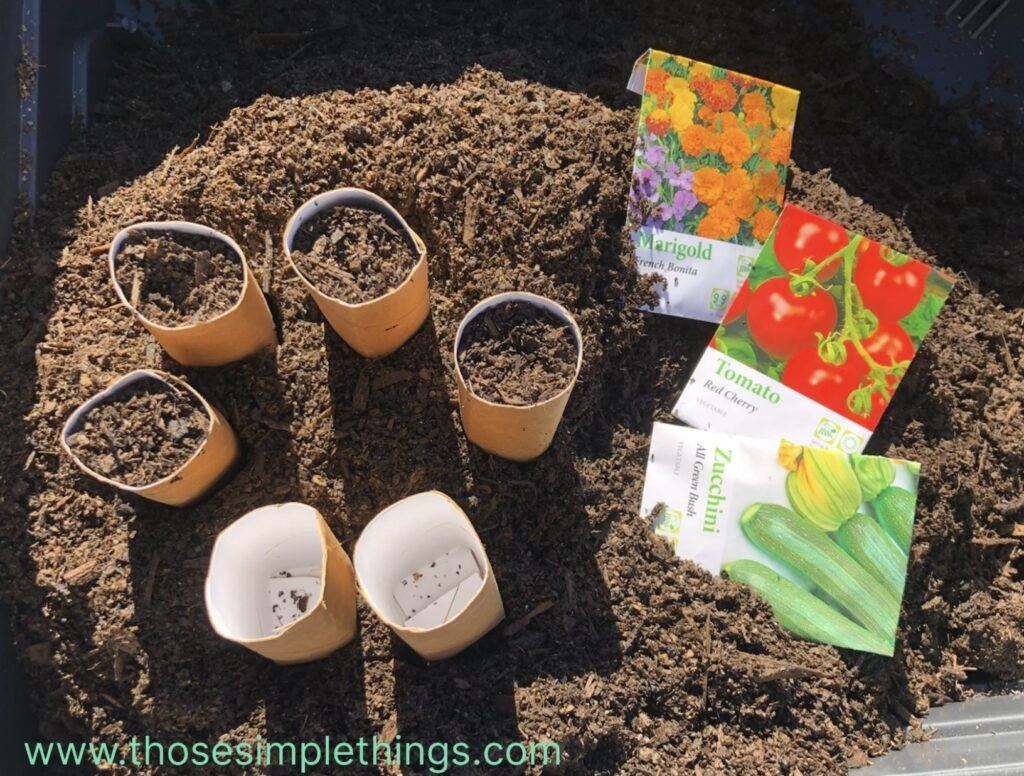
Step 5: Fill with Soil
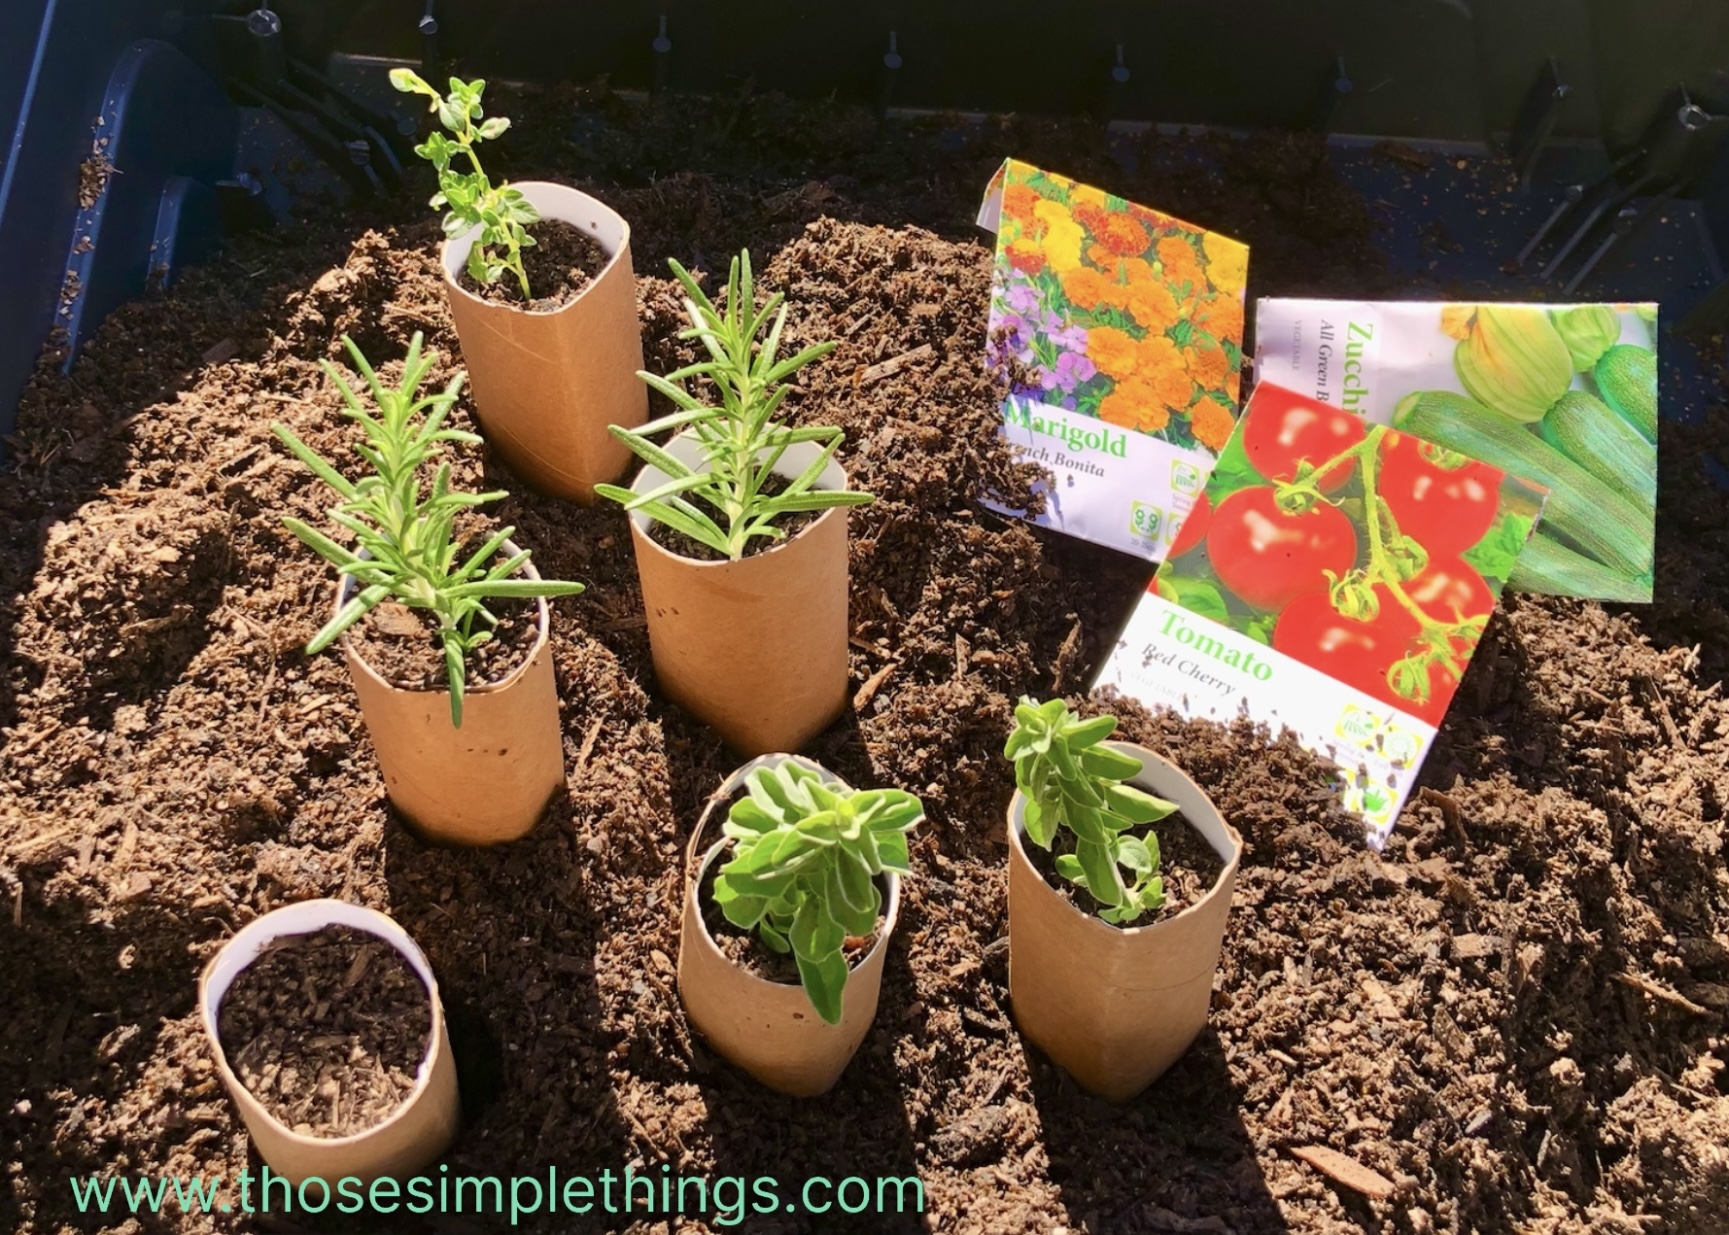
Once the bottom is secure, fill your new pot with soil or seedling mix. Be careful not to pack the soil too tightly; you want to create a supportive yet breathable environment for your seedling.
Step 6: Plant Your Seed
Now push in your cutting, or make a small hole in the soil, drop in your seed and cover it lightly with more soil. Give your seedling a gentle watering to help it settle in.
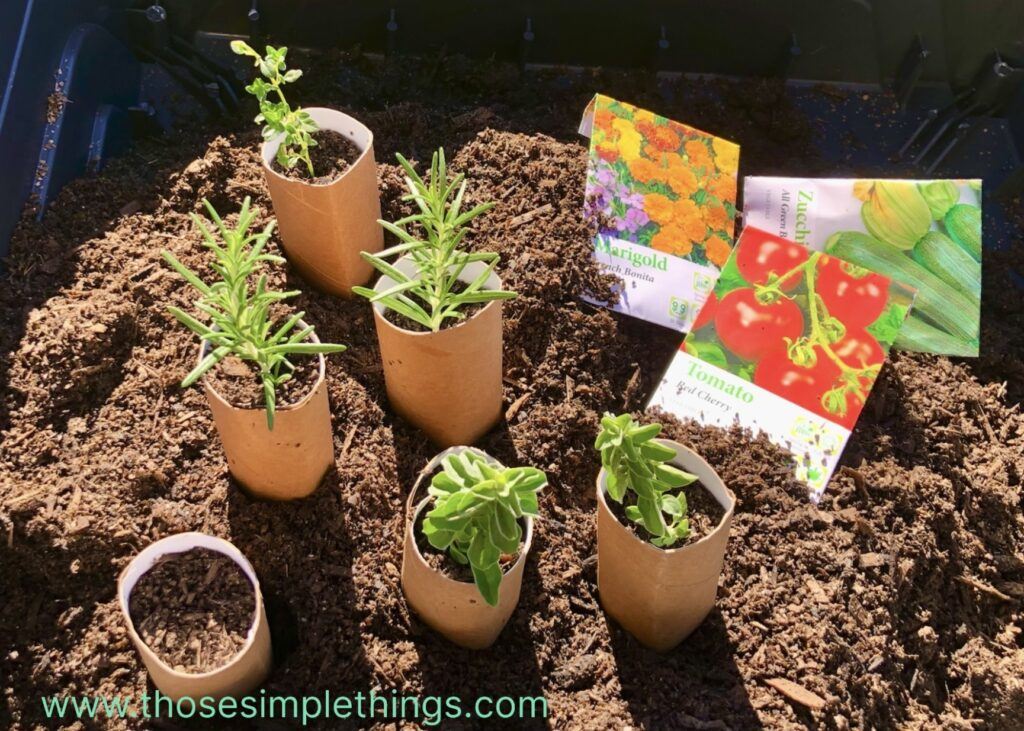
Step 7: Place them together
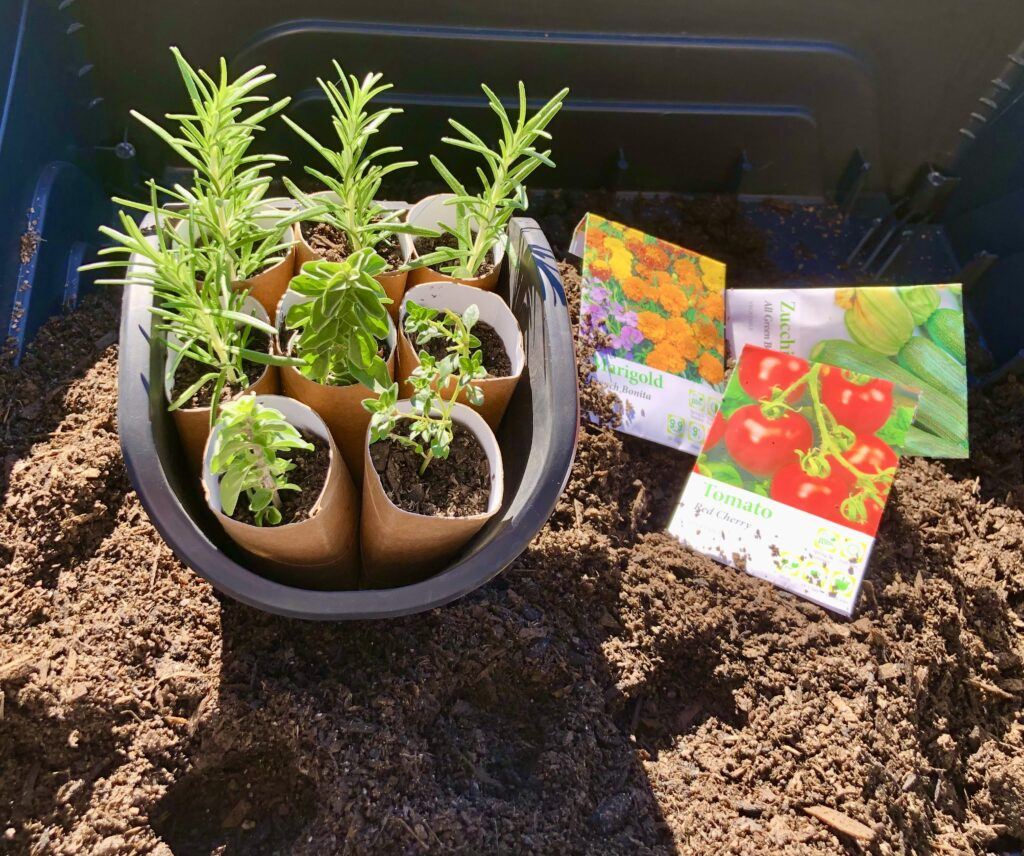
You can group your single pots together into a seedling tray, a larger pot or repurpose an old item that they will stand together in, this makes them easier to move and care for as they grow.
Pop them a sheltered spot where they can get some filtered sunlight and keep the soil moist. As your seedlings grow, you can gradually move them into more sunlight to get sun harden as they strengthen.
When ready, transplant the whole biodegradable plant pot directly into your garden, toilet roll and all! The cardboard will decompose naturally while buried under the soil, making this method not only convenient, but also free, environmentally friendly and limits the risk of damaging the seedlings delicate root system.
Here’s a Quick and Simple Video Tutorial
Why Use Toilet Roll Seedling Pots?
Using toilet rolls as seedling pots has several eco-friendly gardening benefits:
- Recycling: It’s a great way to recycle household waste and reduce your environmental footprint.
- Cost-Effective: It saves money on buying seedling pots.
- Biodegradable: The cardboard breaks down naturally in the soil, making transplantation easy and eco-friendly.
- Fun and Educational: It’s a fantastic project to do with kids, teaching them about recycling and gardening.
Tips for Success:
- Consistent Moisture: Keep the soil consistently moist but not waterlogged to ensure healthy seedling growth.
- Proper Light: Start your seedlings in filtered sunlight to begin with and slowly move them into more sun as they get bigger and stronger, this gradual introduction to sunlight will give your seedlings the light they need to thrive.
- Label Your Pots: If you’re planting multiple types of seeds, make sure to label each pot to keep track of what’s growing.
Troubleshooting:
- Bottom Flaps:
- Problem: Flaps are hard to fold inward as they overlap too much and there’s no hole in the middle.
- Solution: Don’t cut in too far along the creases, they need to be just short of the middle when folded.
- Mold Growth:
- Problem: Mold can grow on the toilet roll pots, especially in humid conditions.
- Solution: They need good air circulation, so if mould appears, reduce watering slightly and try to improve ventilation.
- Overwatering:
- Problem: Too much water can cause the pots to break down too quickly.
- Solution: Water the soil lightly and encourage good drainage by placing the pots on a rack or tray with holes. Monitor the moisture levels and adjust watering frequency as needed.
- Pest Infestation:
- Problem: Some pests may be attracted to the moist soil and cardboard.
- Solution: Allow the soil to dry slightly between waterings. Use a layer of sand or fine gravel on top of the soil to deter pests.
- Root Binding:
- Problem: Roots may become bound if the seedlings are left in seedling pots for too long.
- Solution: Monitor the growth of your seedlings and transplant them to larger pots or directly into the garden as soon as they are strong enough.
- Inconsistent Moisture:
- Problem: Inconsistent watering can lead to uneven growth and stress for the seedlings.
- Solution: Establish a regular watering schedule and check the moisture level daily, the soil should stay consistently moist but not waterlogged.
- Decomposition Issues:
- Problem: The pots may not decompose quickly enough after being planted in the garden.
- Solution: Keep the soil in the garden moist to aid in the breakdown of the cardboard. You can also make a few additional small cuts or holes in the sides of the pots before planting them in the garden.
- Label Fading:
- Problem: Labels on the pots may fade or become unreadable over time.
- Solution: Use waterproof labels or write directly on the cardboard with a waterproof marker. You could also use a labelling system that involves numbering the pots and keeping a corresponding list.
By anticipating these common issues and knowing how to solve them will help you have a smoother and more successful experience with your toilet roll seedling pots.
Happy gardening!
I hope you enjoyed this simple and sustainable eco-friendly gardening project and tips! Share them with your friends and family. Let’s make gardening fun together!
If you try making these toilet roll seedling pots, I’d love to see your results. Share your photos and tips in the comments below.


Leave a Reply