
Crochet Basics for Beginners Series
Mastering the Slip Knot: Knot a Slip-Up in Sight
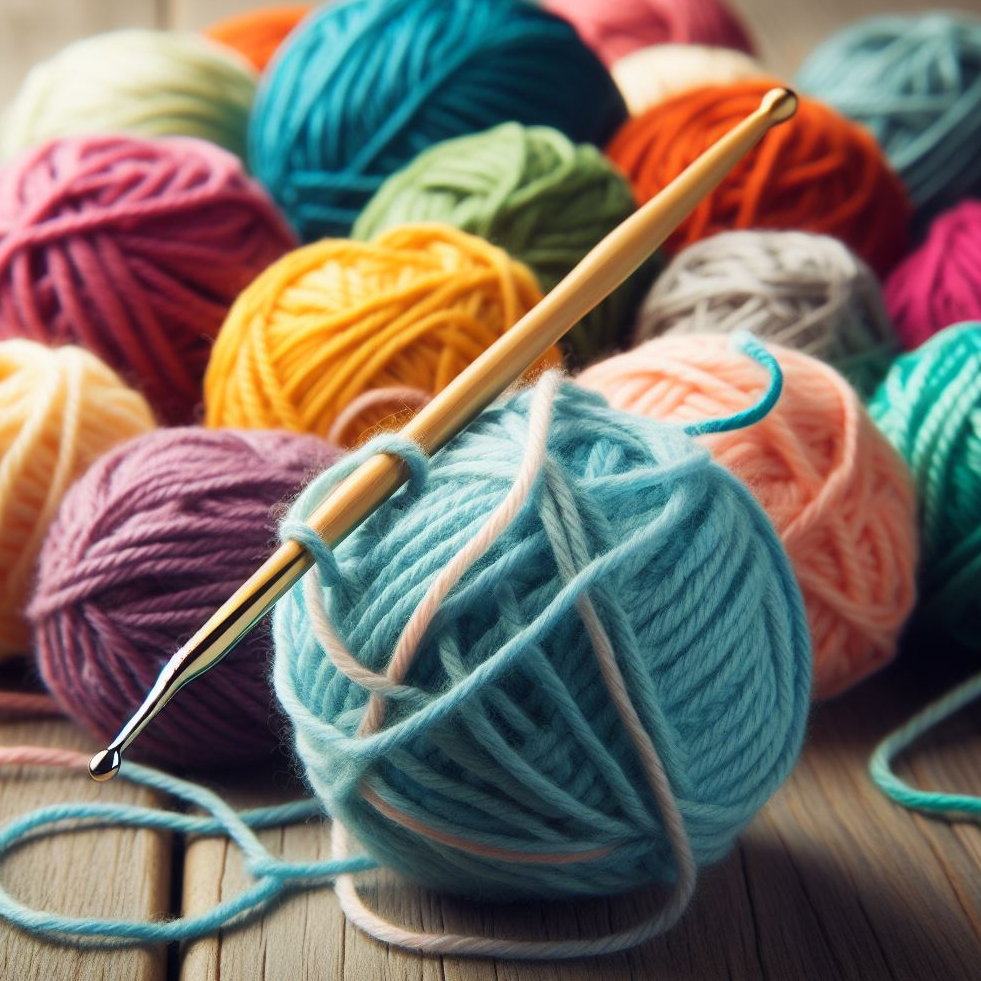
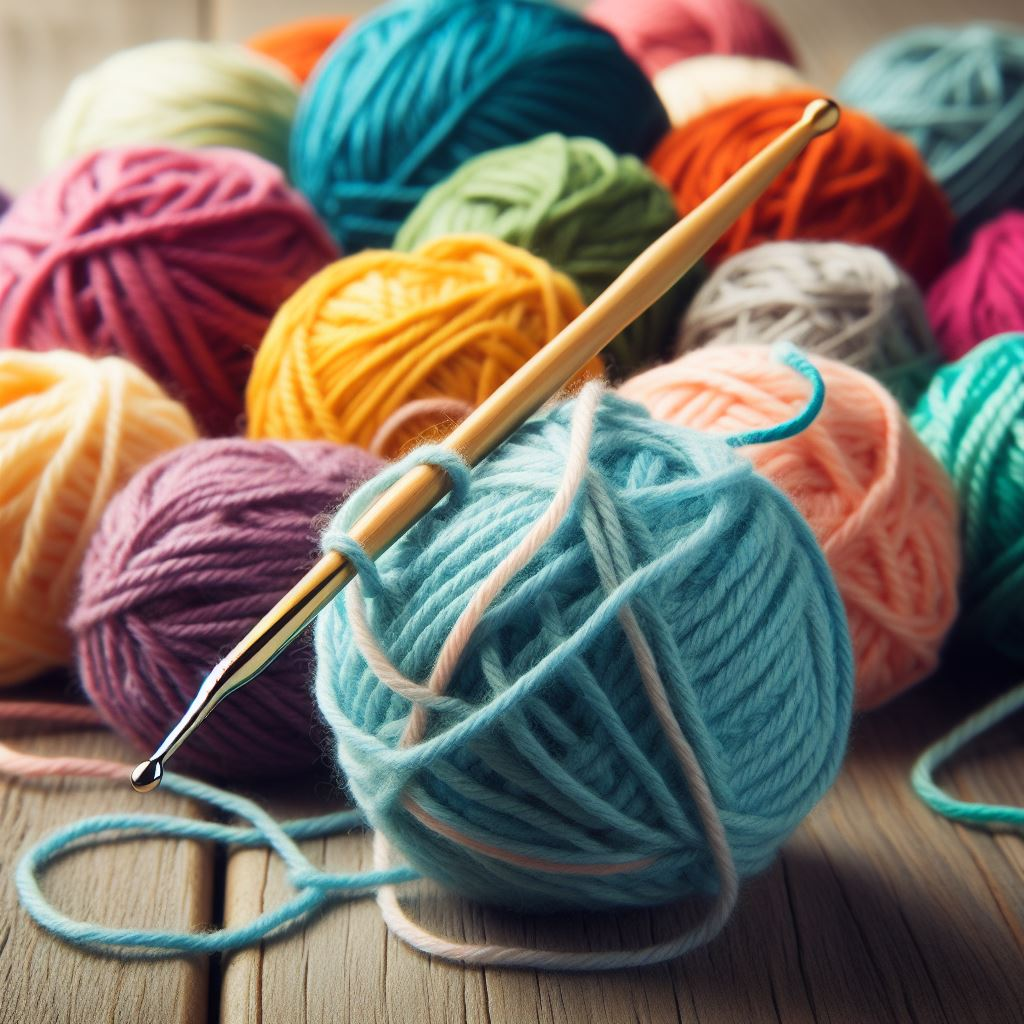
The slip knot is a simple yet important and secures the yarn onto your hook, setting the stage for everything that follows. So mastering the slip knot is a great skill to begin with, when learning to crochet.
Things You’ll Need
You’ll need some yarn and a hook, a thicker yarn and a larger hook is easier to begin with. I’d suggest beginning with:
Yarn: Light coloured 8ply – equivalent yarns in other countries could be a DK yarn, light worsted yarn, medium-weight yarn.
Crochet hook: 5mm (or one close to this size ie 4mm-6mm) – equivalent to a US H/8 – UK6.
Hook, yarn, and link! When you click and buy through our links, you’re not just crafting amazing projects, you’re helping us stitch together more fabulous free crochet content. It doesn’t cost you extra, but it keeps our hooks moving and your patterns plenty!
Step-by-Step Guide to Slip Knotting onto Your Hook like a Pro
Start with the end of the yarn: Hold the tail end of the yarn in your left hand and the working yarn end (the yarn attached to the ball) in your right hand.
Make a loop: Fold the working yarn end over itself to form a circle at the top.
Pull through: With your right hand, pinch the working yarn end into a loop and push it under and up through the first circle, then place this new loop around your right pointer finger.
Create the knot: With your left hand, pull both ends of the yarn to fasten the knot.
Place loop onto hook: Replace your pointer finger with your crochet hook so the loop is now on your hook.
Adjust the size: Pull on the working yarn end to tighten the loop/slip knot onto your hook
Here’s a Quick and Simple Video
Tips to Ensure a Secure and Adjustable Slip Knot
Make sure the tail end is long enough: You should be able to easily pull and adjust the slip knot, about 5-10cm is a good size.
Don’t tighten the knot too much; The slip knot should slide along the yarn easily, allowing you to adjust the loop’s size as needed.
If your slip knot is too tight: This usually happens if you pull the tail end too hard, the knot should be snug but movable.
If your slip knot won’t tighten: Make sure you’re pulling the working yarn end to adjust your slip knot, not just the tail.
Be kind to yourself: Every crocheter started somewhere!
Happy slip knotting!
If you would like to learn more, check out all our other posts within the Crochet Basics for Beginners Series:
And many many more you can find under our Crochet – Crochet Basics for Beginners Series section


Leave a Reply